



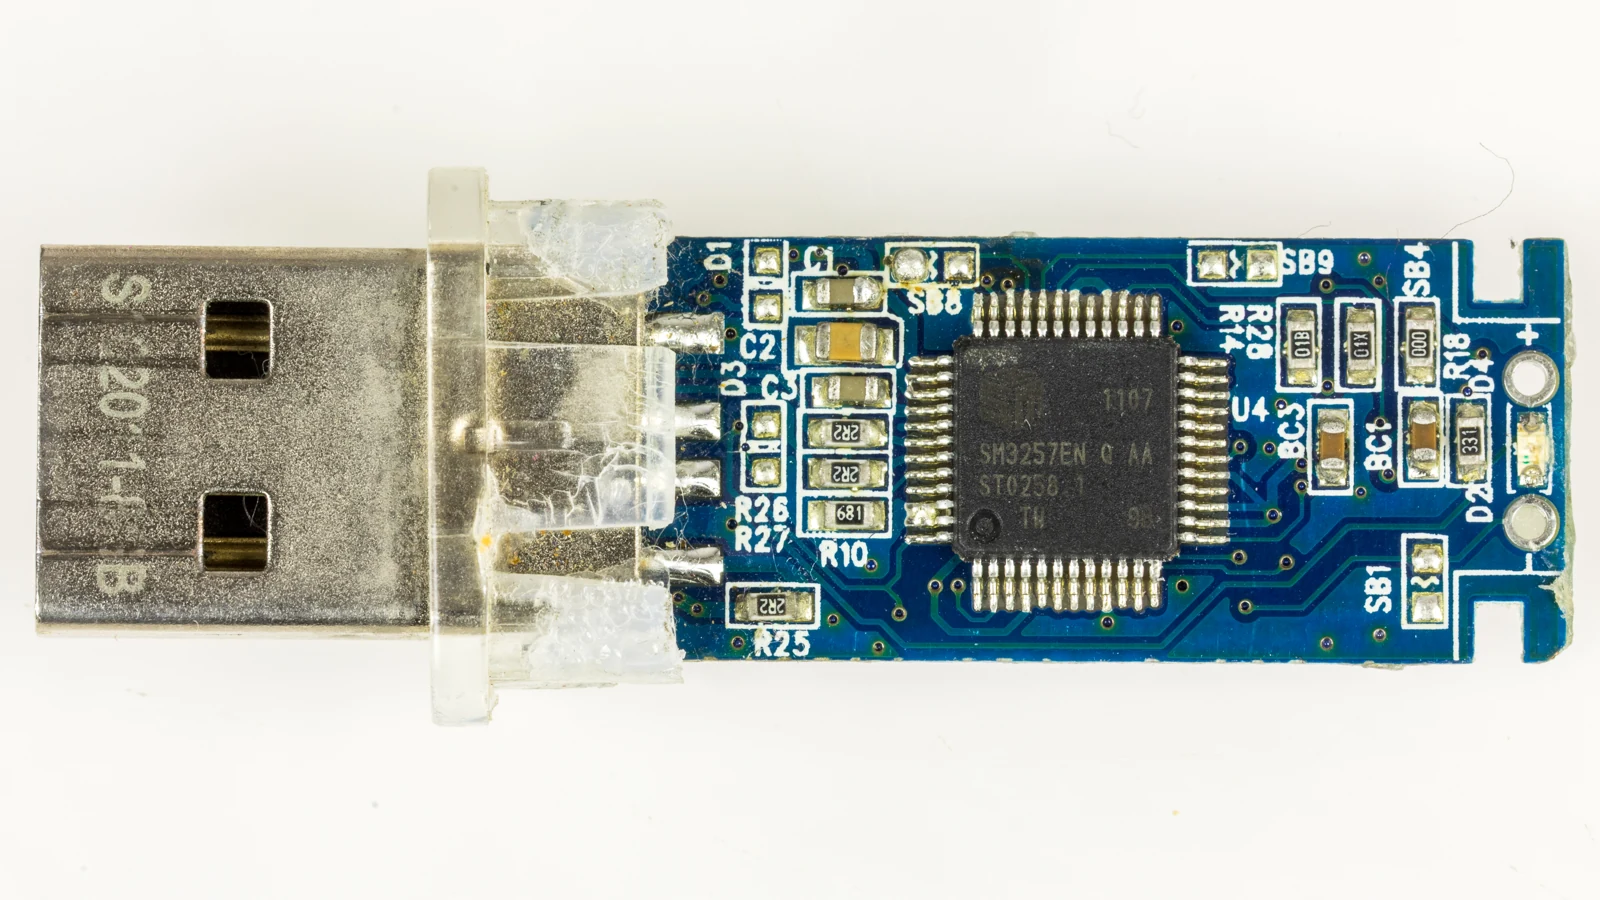

Use Microsoft's installer, choose the right SSD, and finish a clean setup on your new gaming PC.
Reviewed October 8, 2026 · Windows Setup · U.S. edition
Your PC reaches BIOS and recognizes its hardware. Now give that blank SSD an operating system. This guide uses Microsoft's current Windows 11 installation media for a new Intel or AMD x64 desktop, with U.S. language and keyboard settings. It is written for a fresh build with an empty target drive.
What you need before starting
- A working Windows PC, a reliable internet connection, and administrator access to create the installer.
- An empty USB flash drive with at least 8GB of space. Microsoft requires at least 8GB; a 16GB or 32GB drive is a practical editorial choice if you are buying one. Creating installation media erases its contents.
- A Windows license for the edition you intend to install. Downloading the installer does not supply a new license.
- Your motherboard's manual and network driver. Download the exact board's LAN or Wi-Fi driver on the working PC and keep it on a second USB drive, with any extraction instructions. Some new network controllers need a driver Windows does not already include.
- Internet and a Microsoft account for initial personal-use setup. Current requirements specify these for Windows 11 Home and Pro for personal use.
Microsoft installation-media requirements · Windows 11 setup requirements · MSI network-driver preparation example.
Confirm that the new PC meets Windows 11's hardware requirements, including a supported processor, UEFI with Secure Boot capability, and TPM 2.0. Use the exact motherboard's instructions for firmware TPM or relevant security settings; do not assume every board arrives configured identically. Microsoft hardware requirements.
If you are reinstalling on a used drive, back up its files first. A clean installation can remove personal files, applications, and settings. This tutorial's empty-drive path should not be used as a reason to erase a drive you have not identified and backed up. Microsoft clean-install guidance.
1. Download the media creation tool
On the working PC, open Microsoft's Download Windows 11 page. Find Create Windows 11 Installation Media and select Download Now in that section.
The page also offers Installation Assistant, intended for the PC currently running it, and separate ISO downloads. For this USB walkthrough, use the media creation tool. Microsoft's tool creates x64 media; an Arm-based PC needs its own supported route.
Use the current download from Microsoft instead of an old ISO saved from a past build. Read any release-health notice linked on the download page before proceeding.
2. Create the USB installer
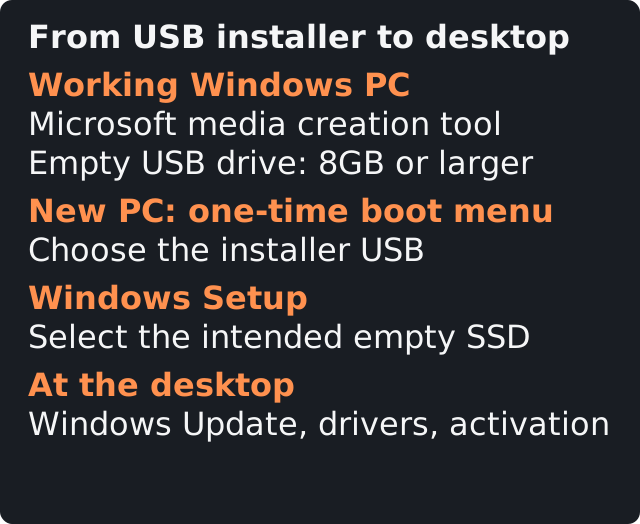
- Plug the empty USB drive into the working PC. Check its name and capacity in File Explorer so you can recognize it in the tool.
- Run the downloaded tool as an administrator and review the license terms.
- Choose installation media for another PC if the tool presents that choice. For this U.S. guide, select English (United States) and the supported 64-bit architecture. Adjust “recommended options” if they reflect a different host-PC language.
- Choose USB flash drive, then select the intended USB from the list. Confirm the drive carefully; its contents will be deleted.
- Let the download and media creation finish. When the tool reports completion, close it and safely eject the USB.
Microsoft's wording can vary with the current tool, but the choices are language, supported architecture, and USB media. Do not just copy an ISO file onto a blank USB and assume it is now bootable. Microsoft media creation steps.
Keep the network-driver files on your second USB. Copying them to the installer drive before running the creation tool would risk erasing them along with its previous contents.
3. Boot the new PC from the USB
Connect the installer USB to the new PC and open its one-time boot menu during startup. Choose the USB's UEFI entry when the firmware lists that option. Use the key and procedure documented for the exact motherboard.
For example, MSI's MAG B850 TOMAHAWK MAX WIFI manual uses F11, while GIGABYTE's AMD 800-series BIOS guide uses F12. These are documented examples, not universal keys for every model. MSI boot-menu instructions · GIGABYTE boot-menu instructions.
If the USB is absent, check its connection and whether creation actually completed. Try the board's documented USB boot procedure before changing firmware security settings. A USB drive showing files in Explorer is not, by itself, proof that the new PC booted its installer.
4. Start Windows Setup
Choose English (United States) and the US keyboard layout. In the current clean-install flow, select Install Windows 11 and acknowledge the deletion notice after confirming that this is the intended installation.
If a product-key prompt appears, enter the key for your intended edition. If I don't have a product key is available and you choose to enter it later, you still need an appropriate license. Select the edition that matches it, such as Home or Pro; accepting the installer does not activate a new machine. Microsoft edition and activation guidance.
Accept the license terms to continue. Older tutorials may show a different setup layout; follow the current screens rather than hunting for an old “Custom” button. Microsoft current Setup flow.
5. Select the intended SSD
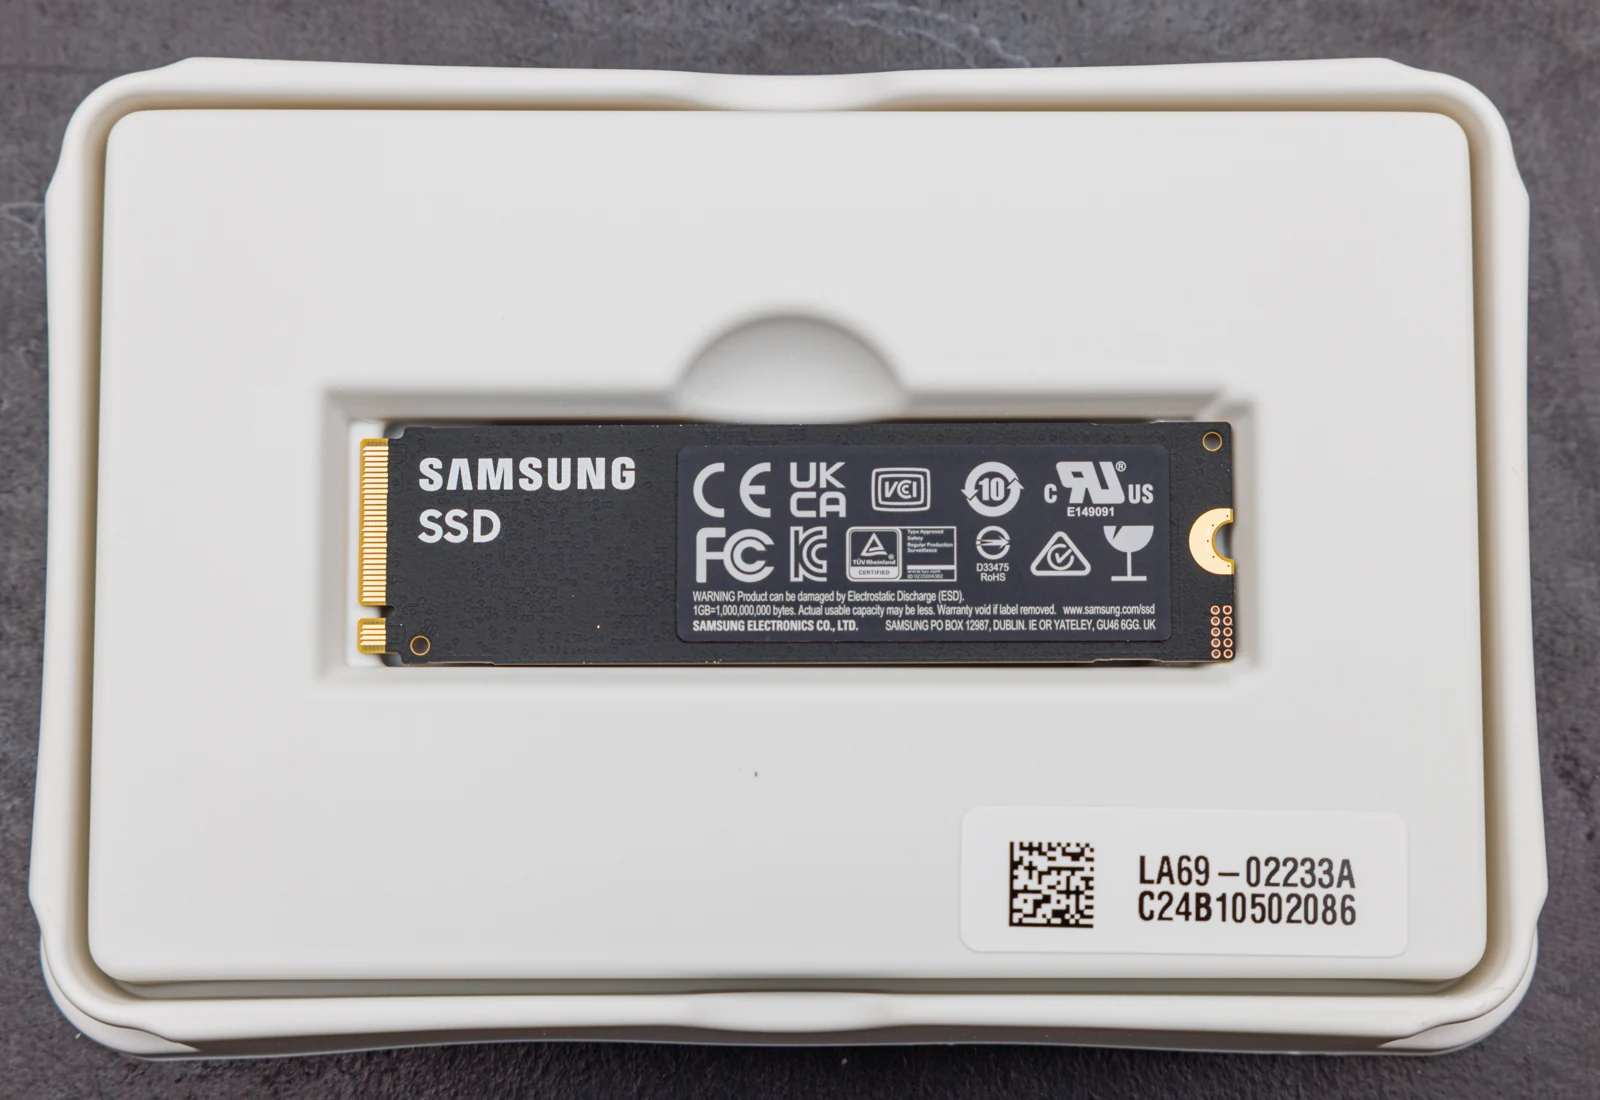
For a new, blank SSD, select its Unallocated Space and continue. Check the listed size against the drive you installed. Windows can create the required partitions during installation.
Do not identify the correct drive only by “Disk 0.” If several internal drives have the same size, the list may not give you enough information to distinguish them confidently. Before starting Setup, a beginner-friendly approach is to power off, unplug AC power, and leave only the intended installation drive connected. Reconnect other drives after Windows is working. If you are unsure how to disconnect them, identify the target with the board's storage information or get help before making changes.
For a used target drive, consult the clean-install instructions and confirm a backup before deleting its partitions. Leave all other drives and partitions alone. Do not use a blanket “delete everything” step on a machine with multiple disks. Microsoft drive-selection instructions.

6. Finish installation and initial setup
Review the installation summary, start the installation, and allow the PC to restart as needed. Do not remove the USB while Setup is still copying files or interrupt the installation.
On subsequent starts, let the internal SSD's Windows Boot Manager boot. If you return to the opening installer screen, use the boot menu to choose the installed system rather than starting another installation. If you changed the persistent boot order, restore the internal system drive as the normal boot device. Microsoft boot-order note.
Complete the regional setup for the United States, connect to the internet, and sign in to your Microsoft account when requested. Read the privacy and optional-service prompts and choose the settings you want. Use the normal supported setup process; older account-bypass commands may no longer work.
If setup cannot find your network
Try the motherboard's wired Ethernet connection if it is available and its driver is supported. If the adapter needs a driver, use the exact motherboard manufacturer's package you saved on the second USB.
For advanced recovery, Microsoft documents extracting the Wi-Fi driver to USB and using its driver-installation procedure from Setup. Driver packages vary: an EXE-only package may need different handling from an extracted INF package. Follow the instructions for your adapter rather than typing commands intended for a different driver layout. Microsoft connection and driver guidance.
7. Run updates, install drivers, and check activation
At the desktop, open Settings → Windows Update → Check for updates. Restart when requested and check again for remaining updates. Then install the appropriate motherboard chipset and other required device drivers from the board or chip maker's official support page.
Use our AMD and NVIDIA GPU-driver guide for the graphics card. Confirm that the network, display, and audio devices work before moving on to games or optional utilities.
Open Settings → System → Activation to verify Windows activation. A new custom PC may need a new valid product key; signing into a Microsoft account does not automatically grant a license for it. If you are moving an existing license, confirm that its terms permit transfer and use Microsoft's activation guidance. Microsoft activation help.
Save any device-encryption recovery key somewhere you can access without this PC. Keep the installer USB, motherboard model, and driver-download links with your build notes. You now have a useful recovery starting point as well as a working operating system.