



Identify your graphics card, use its official download, and check the installation before playing.
Reviewed October 8, 2026 · Drivers & Setup · U.S. edition
A new Windows desktop can show a picture before the full graphics driver is installed. Finish the driver setup for the graphics card you actually own, then verify its status. This guide covers a self-built Windows 11 desktop with a Radeon or GeForce card. Laptop and prebuilt-PC owners should also check their system manufacturer's driver guidance.
Start with the GPU model
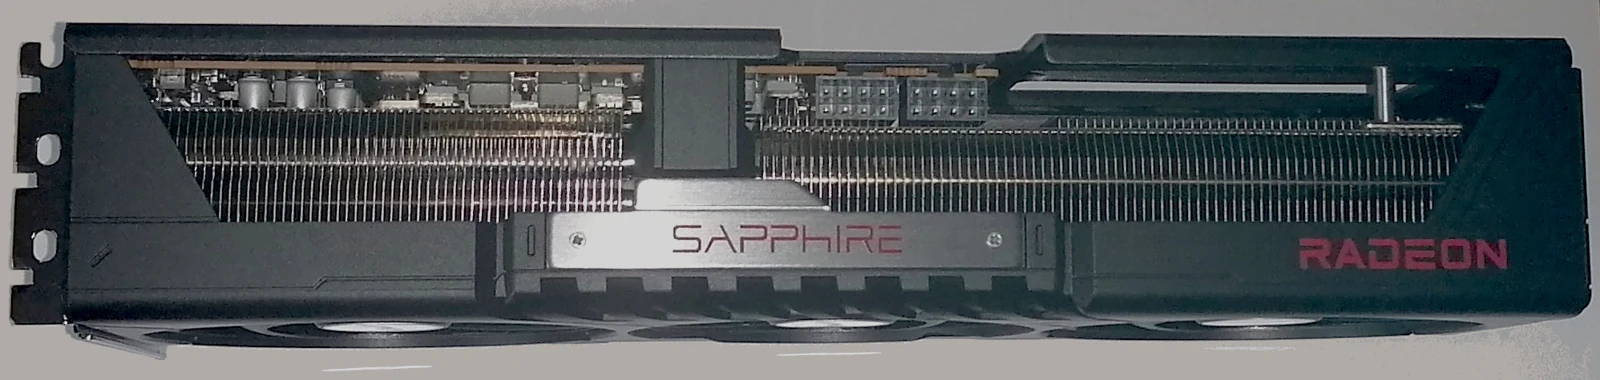
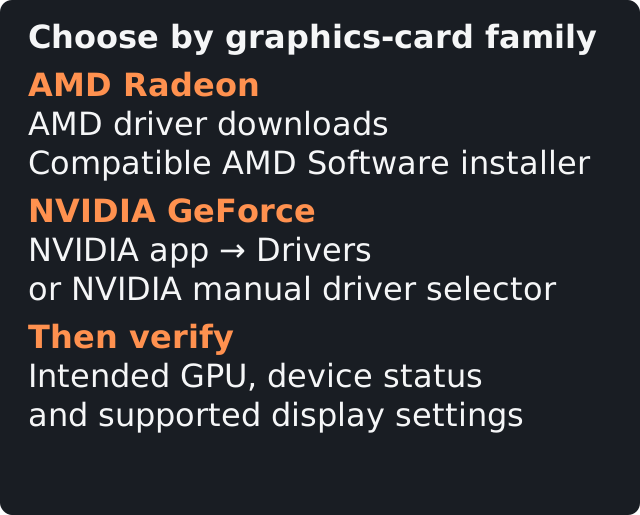
Read the full model on the box, invoice, or card's label. The graphics-chip family decides the driver source: AMD Radeon → AMD, NVIDIA GeForce → NVIDIA. ASUS, MSI, and other board partners can sell cards from either family, so the partner's logo alone is not enough.
Your CPU brand does not choose your discrete GPU driver. A Ryzen CPU with a GeForce card still needs the NVIDIA graphics driver. Motherboard chipset drivers are a separate installation; they are not a substitute for the GPU driver.
If Windows already identifies the card, open Device Manager → Display adapters to inspect it. If it shows Microsoft Basic Display Adapter, use the actual hardware model to find the manufacturer's driver. More than one adapter may be listed when a system also has integrated graphics. Microsoft Basic Display Adapter explanation.
Before downloading
- Complete any Windows updates already in progress and restart when requested. Avoid launching two driver installers at the same time.
- Save your work and close games or other GPU-heavy applications.
- Confirm that you are selecting the desktop GPU and Windows 11, with the correct architecture for your PC.
- Read the driver's supported-products list and release notes, especially for an older card. A newer driver package is useful only if it supports your hardware.
Use the official AMD download page or NVIDIA driver page. These remain the current entry points as version numbers change. Avoid a generic “driver updater” or a sponsored result pretending to be the manufacturer.
AMD Radeon: download the compatible package
On AMD's driver page, search for your exact Radeon model and select the compatible Windows package. Alternatively, use Auto-Detect and Install on the PC you are setting up. AMD's current tool checks supported Radeon graphics, Ryzen chipsets, and the installed Windows version; it can offer more than one kind of driver. Read the detected device names before proceeding. AMD Auto-Detect guide, updated June 2, 2025.
Manual selection is useful when you already know the exact model or the detection tool does not support the hardware. Match the supported-products list rather than downloading a file because its release date looks newer.
AMD Radeon: run the installer
AMD's installation guide was updated February 9, 2026. Its current standard flow is:
- Run the downloaded package and allow its compatibility check to finish.
- Review the license terms and use Accept & Express Install for the standard installation.
- If choosing Additional Options, Default includes the full AMD Software interface; Minimal provides basic controls; Driver Only installs the driver without that interface.
- Let installation finish. Brief display flickering can occur. Do not interrupt the process.
- Restart when prompted, then check the card's driver status.
For a new build, leave Factory Reset off. It is an optional removal step and prevents rolling back to the previous driver through that installer path. Any optional AI bundle is separate from the basic graphics-driver task. AMD's current installation instructions and real screenshots.
NVIDIA GeForce: use NVIDIA app
Download NVIDIA app from NVIDIA, install it, and open its Drivers page. For a gaming-focused build, choose GeForce Game Ready Driver. Studio Driver is the alternative aimed at creative-application workflows. Choose according to how you use the PC; you do not need to install both branches at once.
- Open Drivers and review the available driver's notes.
- Select Download.
- When the download finishes, select Install and follow the standard installation prompts.
- Wait for completion and restart if requested.
NVIDIA's guide shows the driver-branch selector at the upper-right of the Drivers page. Button placement may change as the app updates. Use the current NVIDIA app flow; older tutorials centered on GeForce Experience may show a different interface. NVIDIA's official app walkthrough.
You can also use the official manual driver selector. Match the GPU model, desktop product type, Windows version, driver branch, and preferred language. Run the downloaded installer and follow its prompts. If NVIDIA app is offered as an optional companion, choose whether you want it; driver installation is the essential step.
Check that the installation worked
Open Device Manager → Display adapters, select the intended GPU, and inspect Properties for its device status and driver information. Resolve any error shown there before assuming installation succeeded. A download completing is not the same as a driver being installed. Microsoft driver-management guidance.
If you installed the companion software, confirm that AMD Software or NVIDIA app opens and recognizes the intended GPU. Driver versions can use different formatting in Windows and the vendor's app; inspect the actual package details instead of comparing only the appearance of the numbers.
Check Settings → System → Display → Advanced display and select the intended display's supported refresh rate. Available choices depend on the monitor, cable, connection, and display mode. Microsoft refresh-rate settings.
Finally, connect the monitor to the intended graphics card and launch a game you own. Look for a normal picture and stable operation before changing performance settings. A short game check is useful feedback, not a full hardware stress test or a promise of any particular frame rate.
If something goes wrong
The installer says the card is unsupported: Recheck the full GPU model, operating system, and supported-products list. Older hardware can use a different supported driver branch. Do not keep trying unrelated packages.
AMD reports Error 205: AMD identifies this as an installation that completed but may have had its driver version replaced by Windows Update. Follow the official remedy for that exact error rather than treating it as a damaged GPU. AMD Error 205 guidance.
You are replacing a card from another vendor: Review the previous graphics software's removal instructions before proceeding. Preserve unrelated motherboard chipset drivers. If troubleshooting requires AMD's cleanup tool, read its scope and procedure first; it is a recovery tool, not a required step for every fresh PC. AMD Cleanup Utility.
The display stays black after the installer: Check the monitor input and connection, then use the GPU maker's support guidance. Record the driver package and symptom so you have a useful starting point for support. Avoid changing the BIOS, memory profile, and graphics driver together; keep each change easy to trace.